Tomato Pi AI

irrigation system.

Raspberry Pi Basic.

Raspberry Pi is a small computer that has General Purpose Input and Output pins. GPIO is basically a way of interaction of these microcontrollers with electronic devices. (That’s how you connect Raspberry Pi to other devices.)

Output pins let you control switches directly from Raspberry Pi. ex.on/off diode light.

Input pins let you control switches from outside. ex.on/off light switch. Also data from a sensor or signal from another device.

I used a breadBoard to design the circuit without soldering. BreadBoard is a plastic board with holes. Inside of it are metal strips connecting tie-points (holes).

Resistors are a way of limiting the amount of electricity going through the circuit. Jumper wires are helpful for your design on breadBoard. They help you jump from the Raspberry Pi to the breadBoard.


Tomato Project Documentation.

May 3, 2021

Today was the first day I actually wrote code for the project. First I wrote a program and learned how to start an LED in order to understand the Raspberry Pi more. I connected a jumper to one of the pins (GND), and then to the resistor. Next, the resistor got connected to the shorter leg of a diode (shorter one is the negative one, cathode), and the longer leg of the LED got connected to the GPIO pin using another jumper.


Use the RPi.GPIO library: import RPi.GPIO as GPIO

Use the Time library: import time

Set up channel/pin as output: GPIO.setup(18,GPIO.OUT)

Tell the program which name convention you are using: GPIO.setmode(GPIO.BCM)

Turn the GPIO pin on: GPIO.output(18,GPIO.HIGH)

Pause the program for 1 sec: time.sleep(1)

Turn GPIO pin off, no more power for this pin: GPIO.output(18,GPIO.LOW)

The code:

import RPi.GPIO as GPIO
import time
GPIO.setmode(GPIO.BCM)
GPIO.setwarnings(False)
GPIO.setup(18,GPIO.OUT)
print "LED on"
GPIO.output(18,GPIO.HIGH)
time.sleep(1)
print "LED off"GPIO.output(18,GPIO.LOW)

May 4, 2021

Finished coding today. The schedule module works as well as functions to turn it on and off. I can either plan the timing for the water system to work using schedule.every().day.at("21:19").do(valveOnOff); or control it via buttons on the web page in case there is a bug. I made it possible to turn it on and off from a laptop or computer assuming that something might break.

The code(1):

from werkzeug.wrappers import Request
import RPi.GPIO as GPIO
import schedule
import threading
import time
from flask import Flask, redirect, render_template, request
# from guizero import App, TextBox


app = Flask(__name__)

print("starting jagodas tomato server")

# set the gpio in mode broadcom - so we
# can control leds, etc
GPIO.setmode(GPIO.BCM)
# disable warnings
GPIO.setwarnings(False)

# set pin number 17 to output - so that we can use it to turn something on / off
GPIO.setup(17, GPIO.OUT)
GPIO.output(17, GPIO.HIGH)

# This function turns the valve on and off.
def valveOnOff():
GPIO.output(17, GPIO.LOW)
print("GPIO LOW (on), valve should be open")
time.sleep(90)
GPIO.output(17, GPIO.HIGH)
print("GPIO HIGH (off), valve should be closed")

def valveOnOnly():
GPIO.output(17, GPIO.LOW)
print("GPIO LOW (on), valve should be open")

Issues:

The code was actually opening the valve at the moment of running the program. I fixed it by reversing the GPIO.HIGH with GPIO.LOW so the valve is always closed and the watering system works only when scheduled.

Learned:

Next steps:

The code(2):

def valveOffOnly():
GPIO.output(17, GPIO.HIGH)
print("GPIO HIGH (off), valve should be closed")

def test():
print('test this')

# valveOnOff()

schedule.every().day.at("07:11").do(valveOnOff)
# schedule.every().day.at("04:27").do(job)
# schedule.every(5).seconds.do(valveOnOff)

@app.route("/")
def index():
# only return html here, use javascript call to /on and /off
return render_template('index.html')

@app.route("/on")
def waterOn():
valveOnOnly()
return "{status:ok}"
# the api, important to be before loop
@app.route("/off")
def waterOff():
valveOffOnly()
return "{status:ok}"

@app.route('/schedule', methods=['GET'])
def schedule_function():
text_seconds = request.args.get['text_name']
processed_text = text_seconds.upper()
textbox_time = request.args.get['time']
print(processed_text)
return processed_text

# my_form_post()

class BackgroundTasks(threading.Thread):
def run(self,*args,**kwargs):
app.run(host='0.0.0.0')

t = BackgroundTasks()
t.start()

# main loop of program
while True:

print ("still running program")
schedule.run_pending()
time.sleep(1)


if __name__ == '__main__':
app.debug = True
app.run()

def api_response():
from flask import jsonify
if request.method == 'POST':
return jsonify(**request.json)

GPIO.cleanup()

Tomato Project Documentation.

May 6, 2021

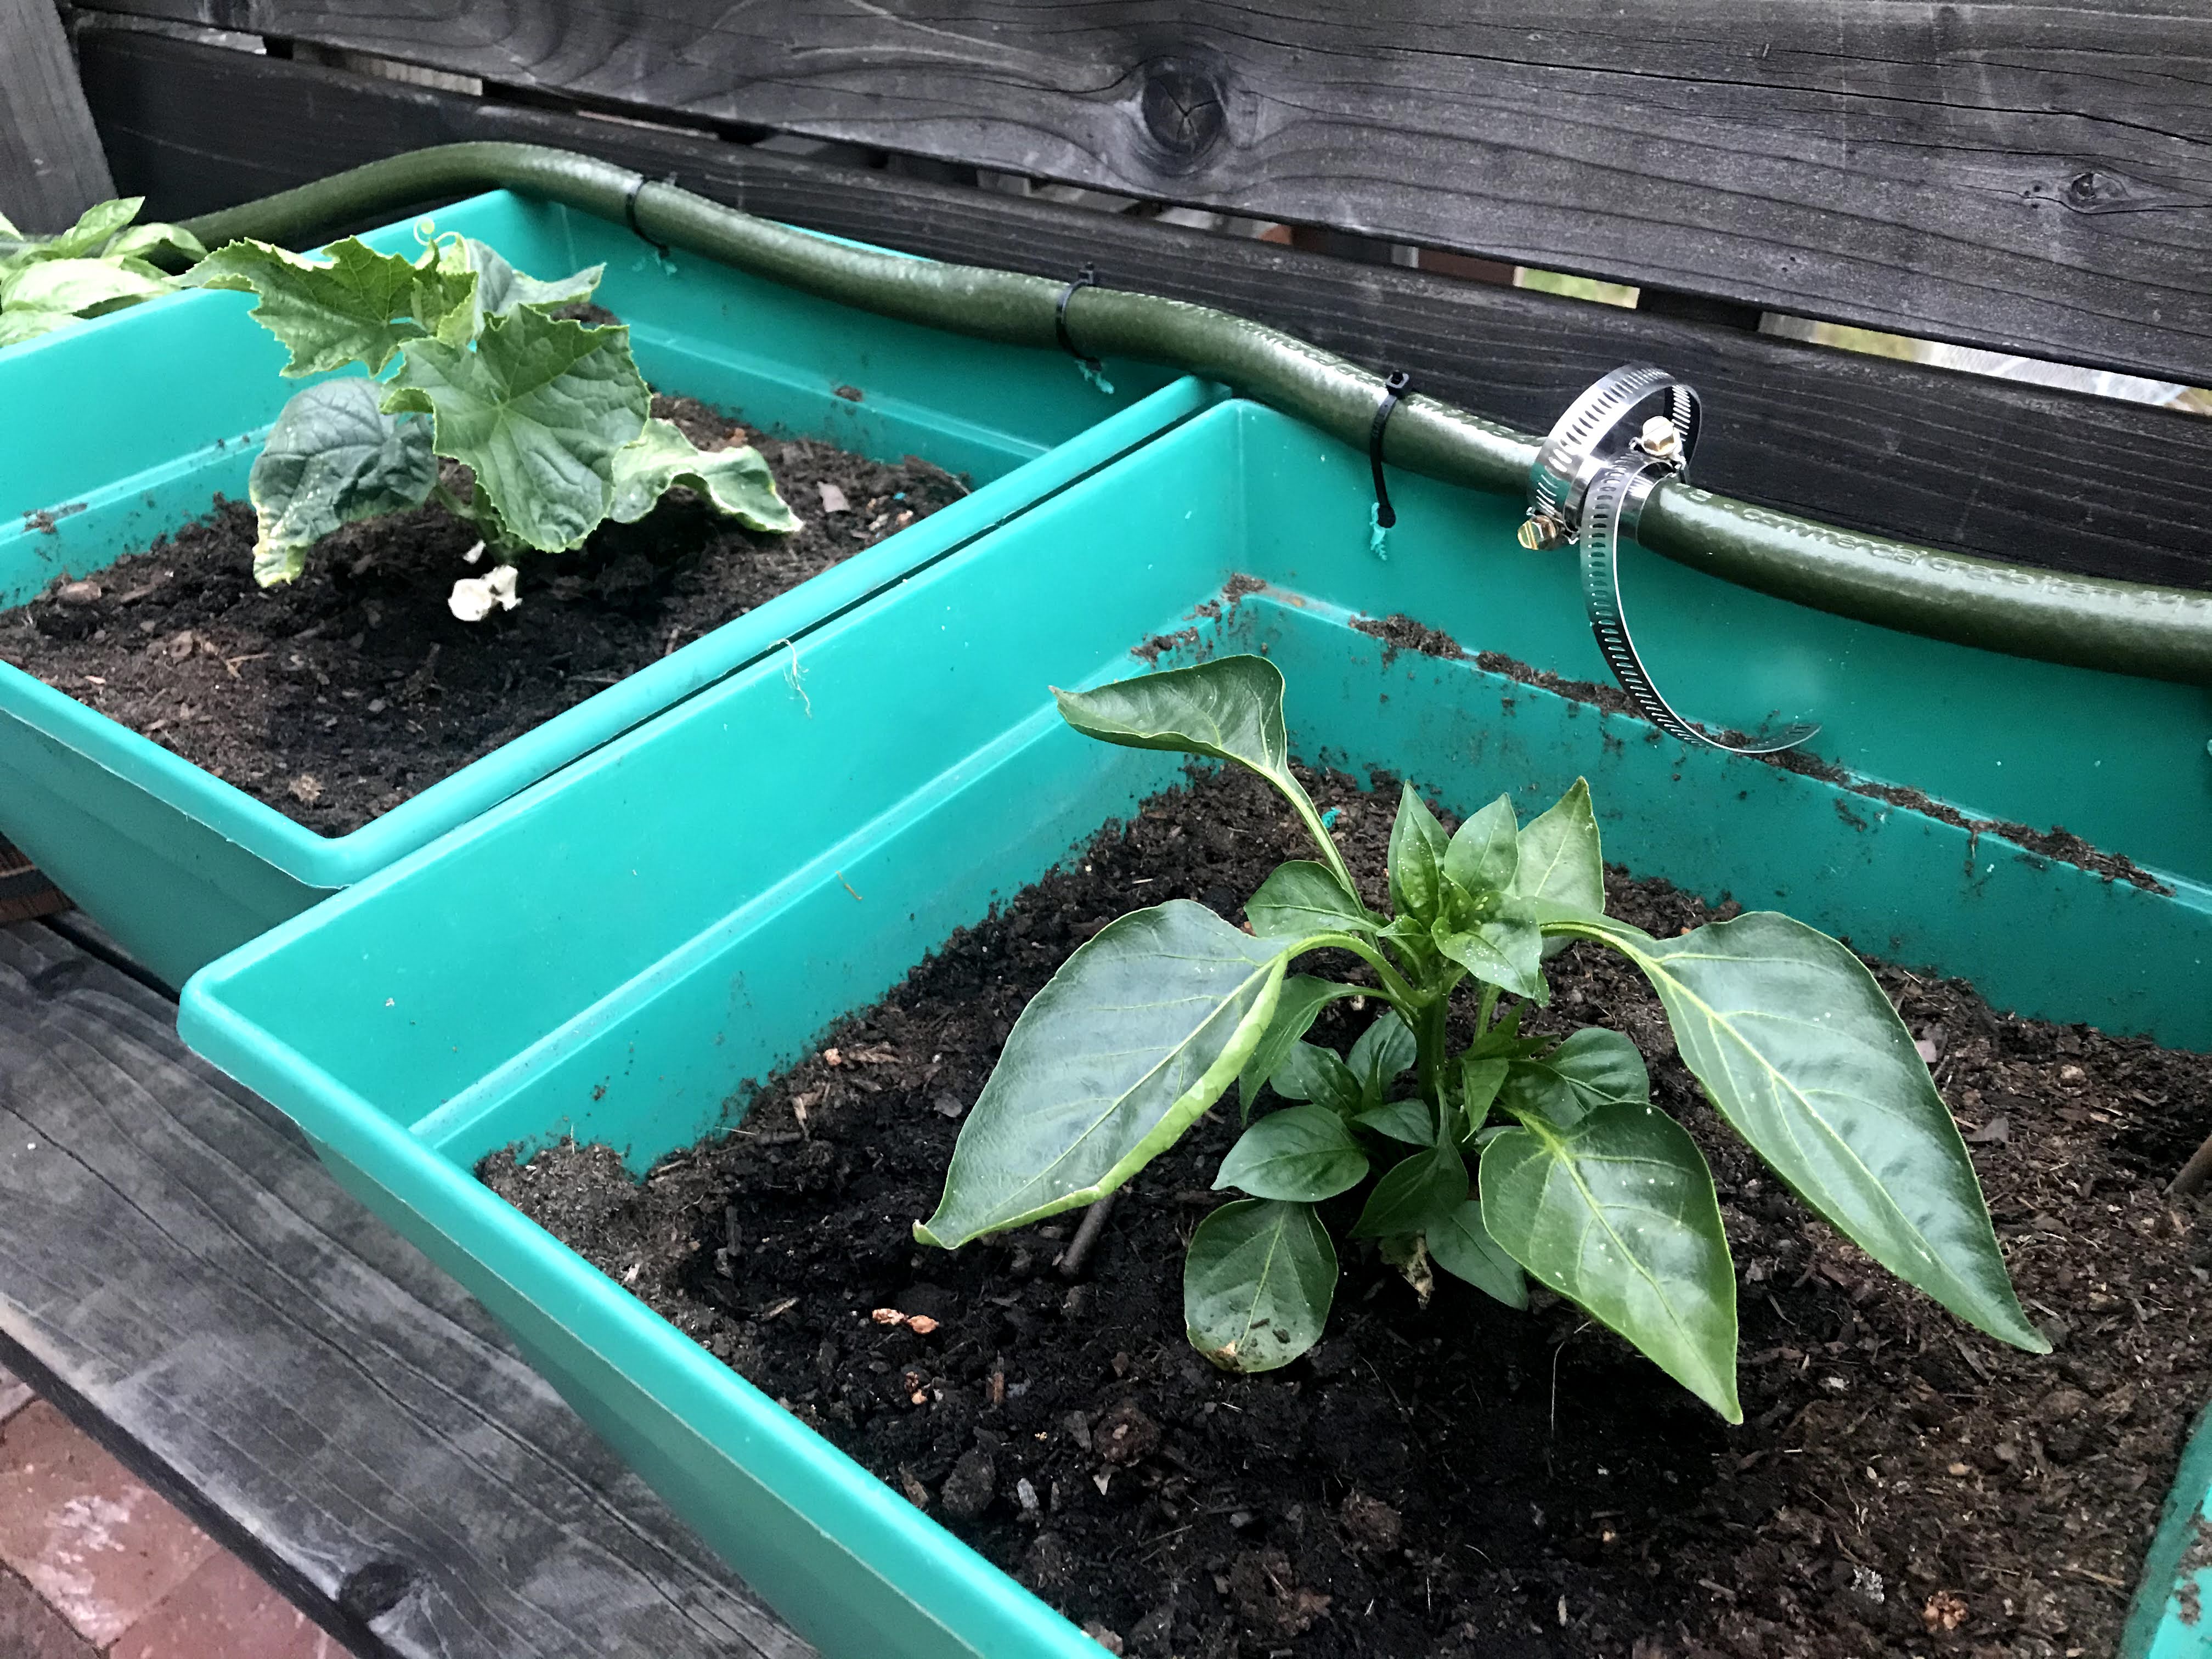
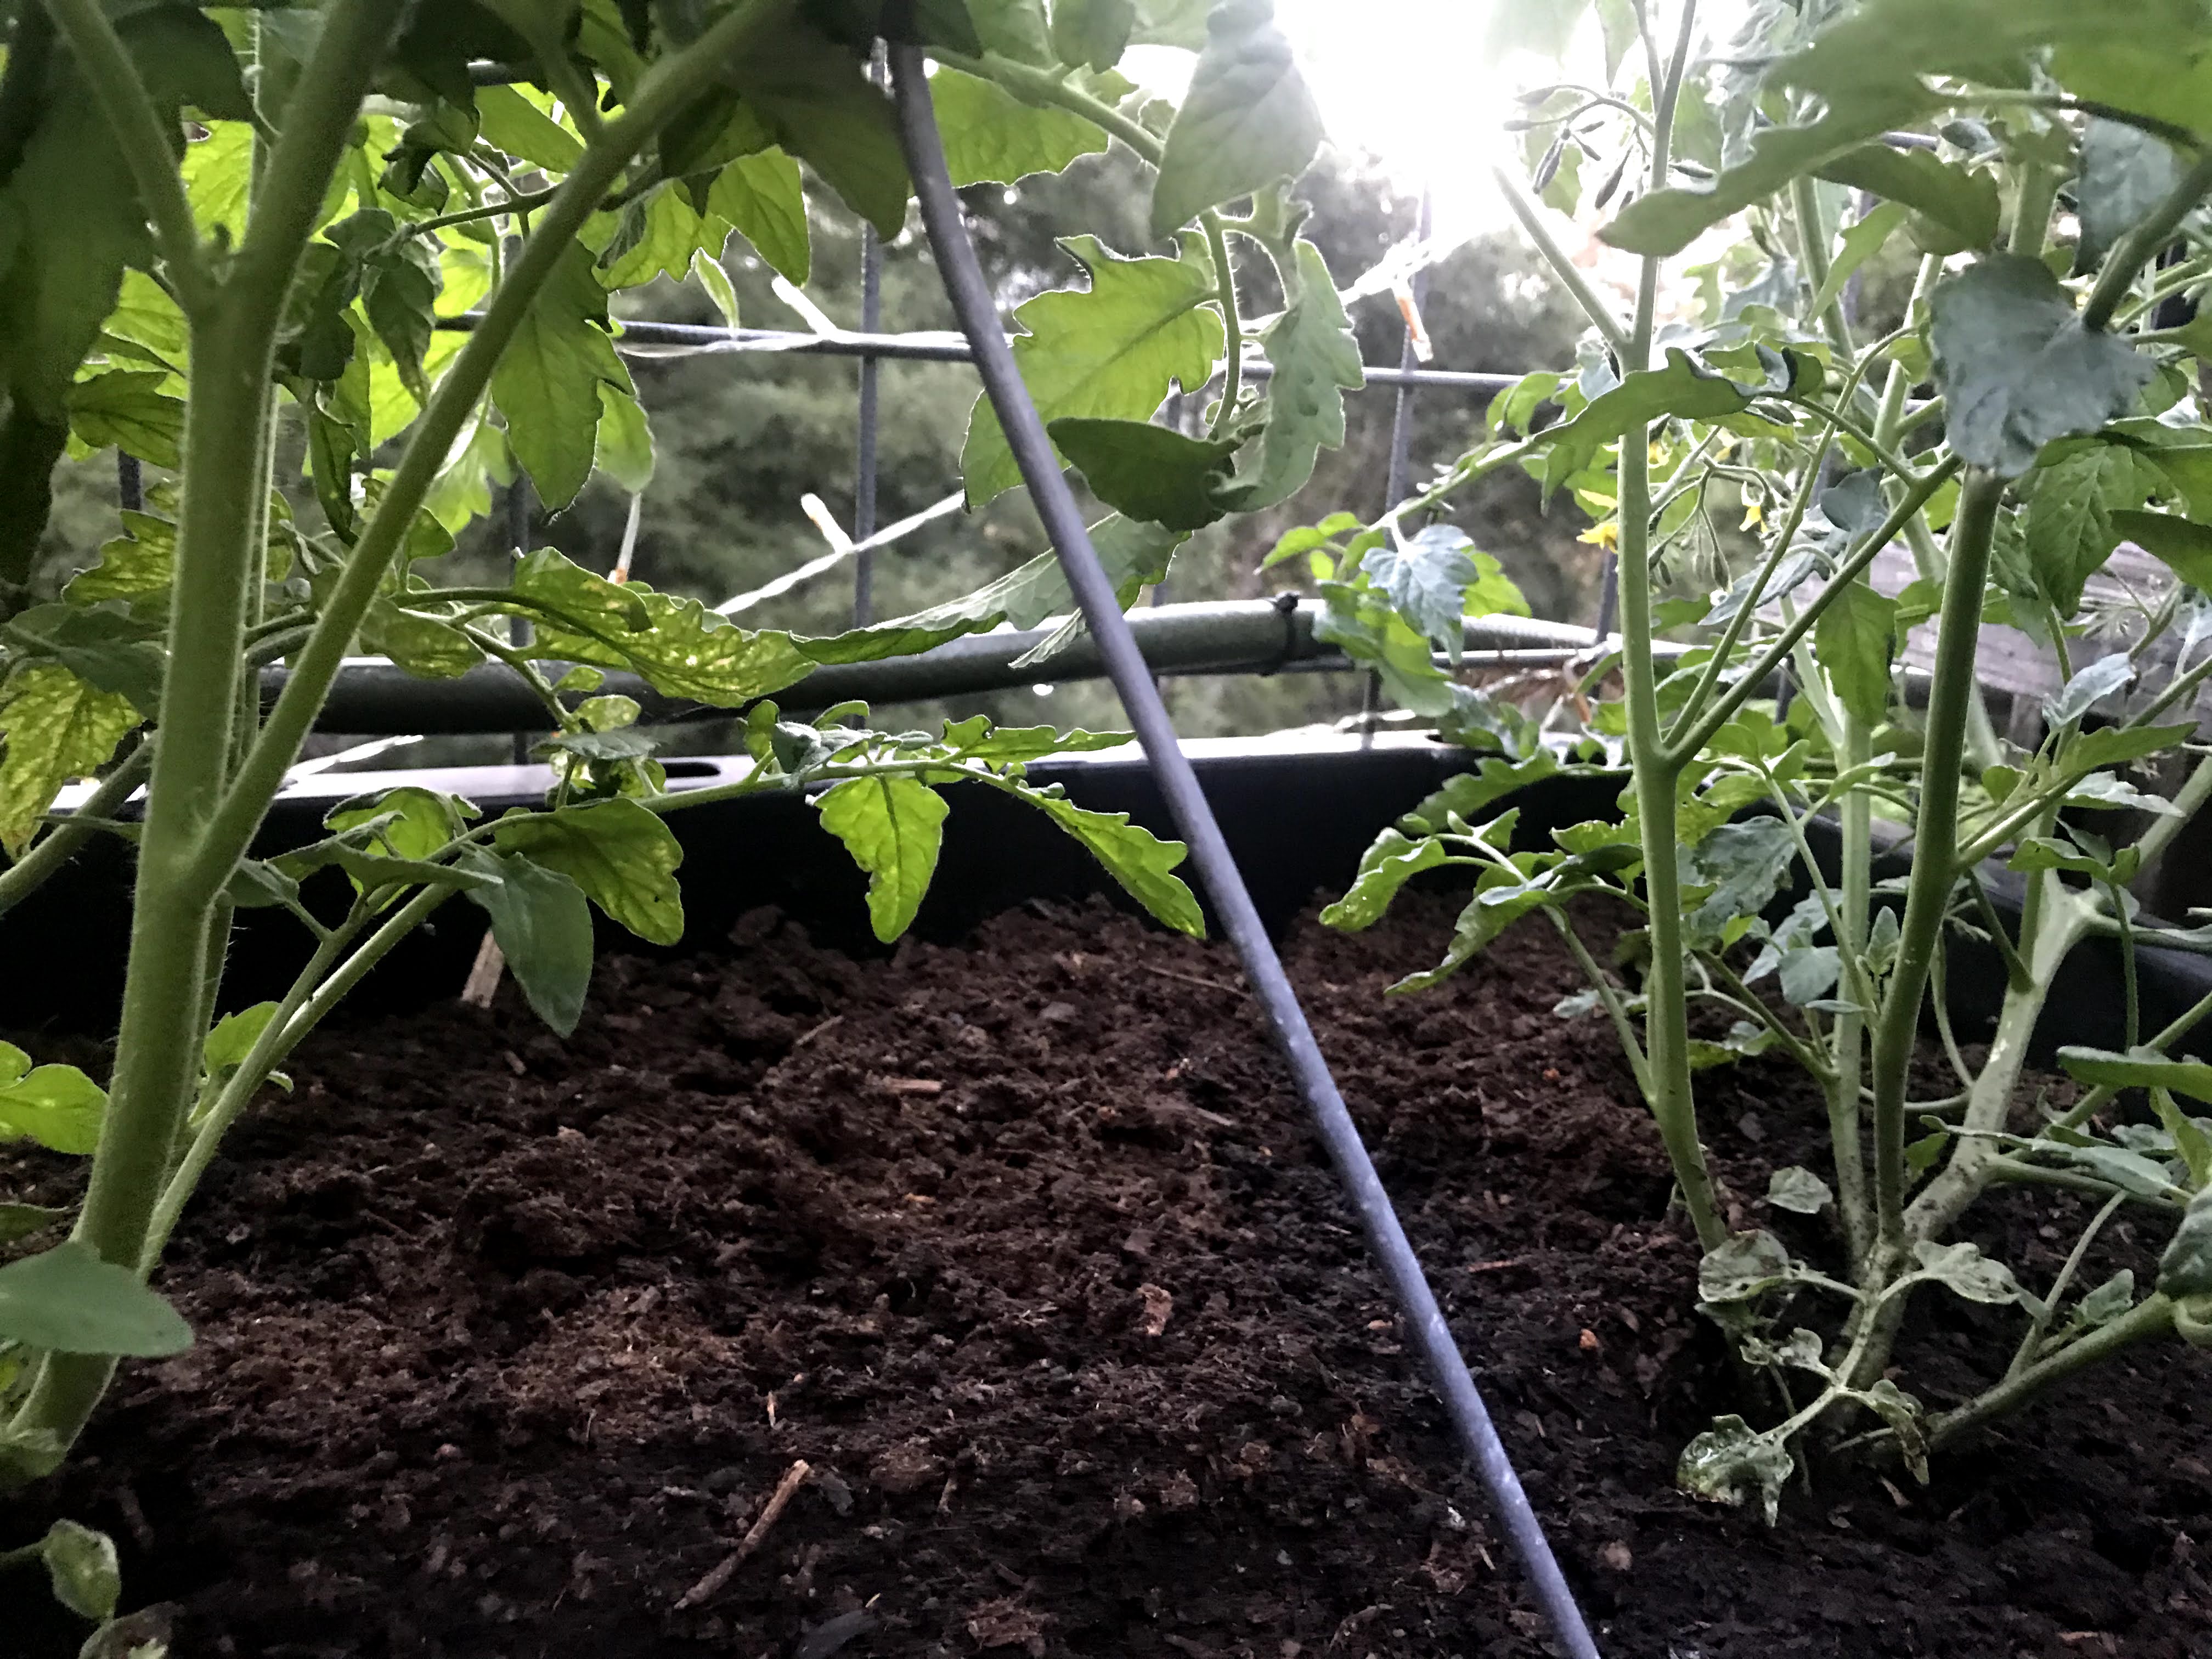
Today I finally set up a hose around the patio and made holes in it using a drill.
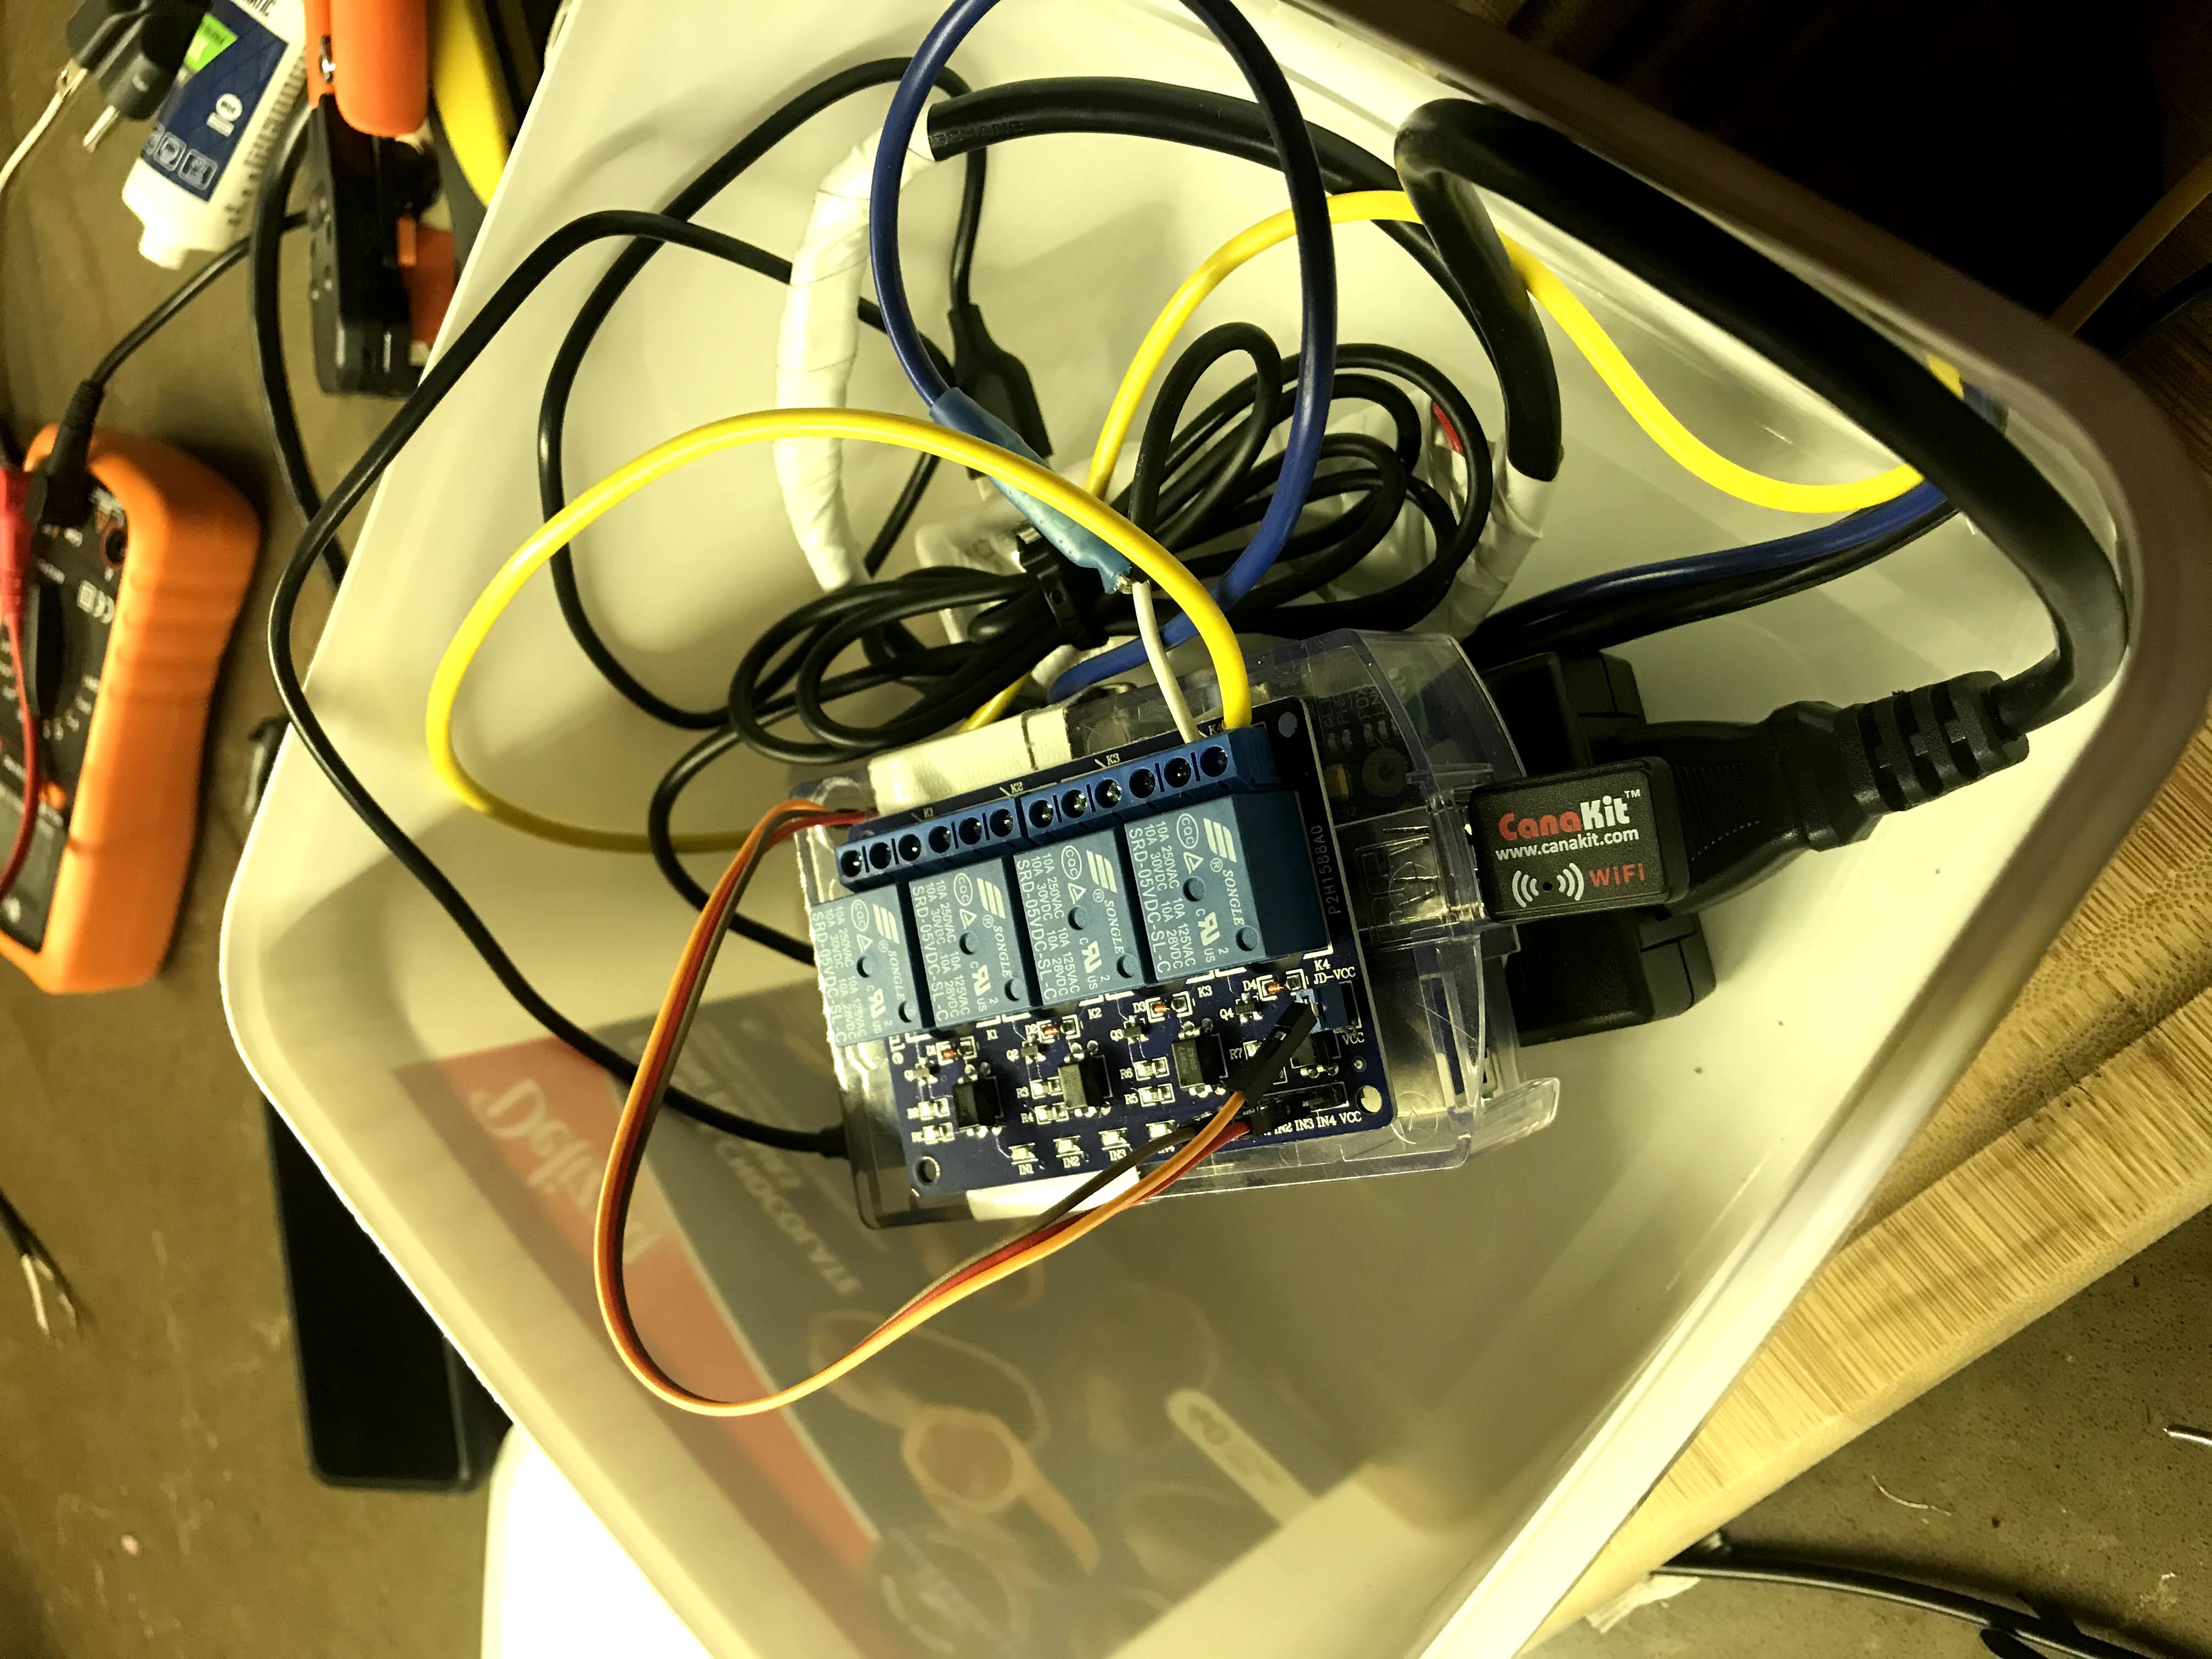
I learned that Relay is basically an electromagnetic switch. It's used to control high voltage supply. The AC mains supply in North America is 120V, and the Raspberry Pi works on 3.3 volts DC. I connected the Raspberry Pi to the relay.

Steps for connecting Pi to relay:


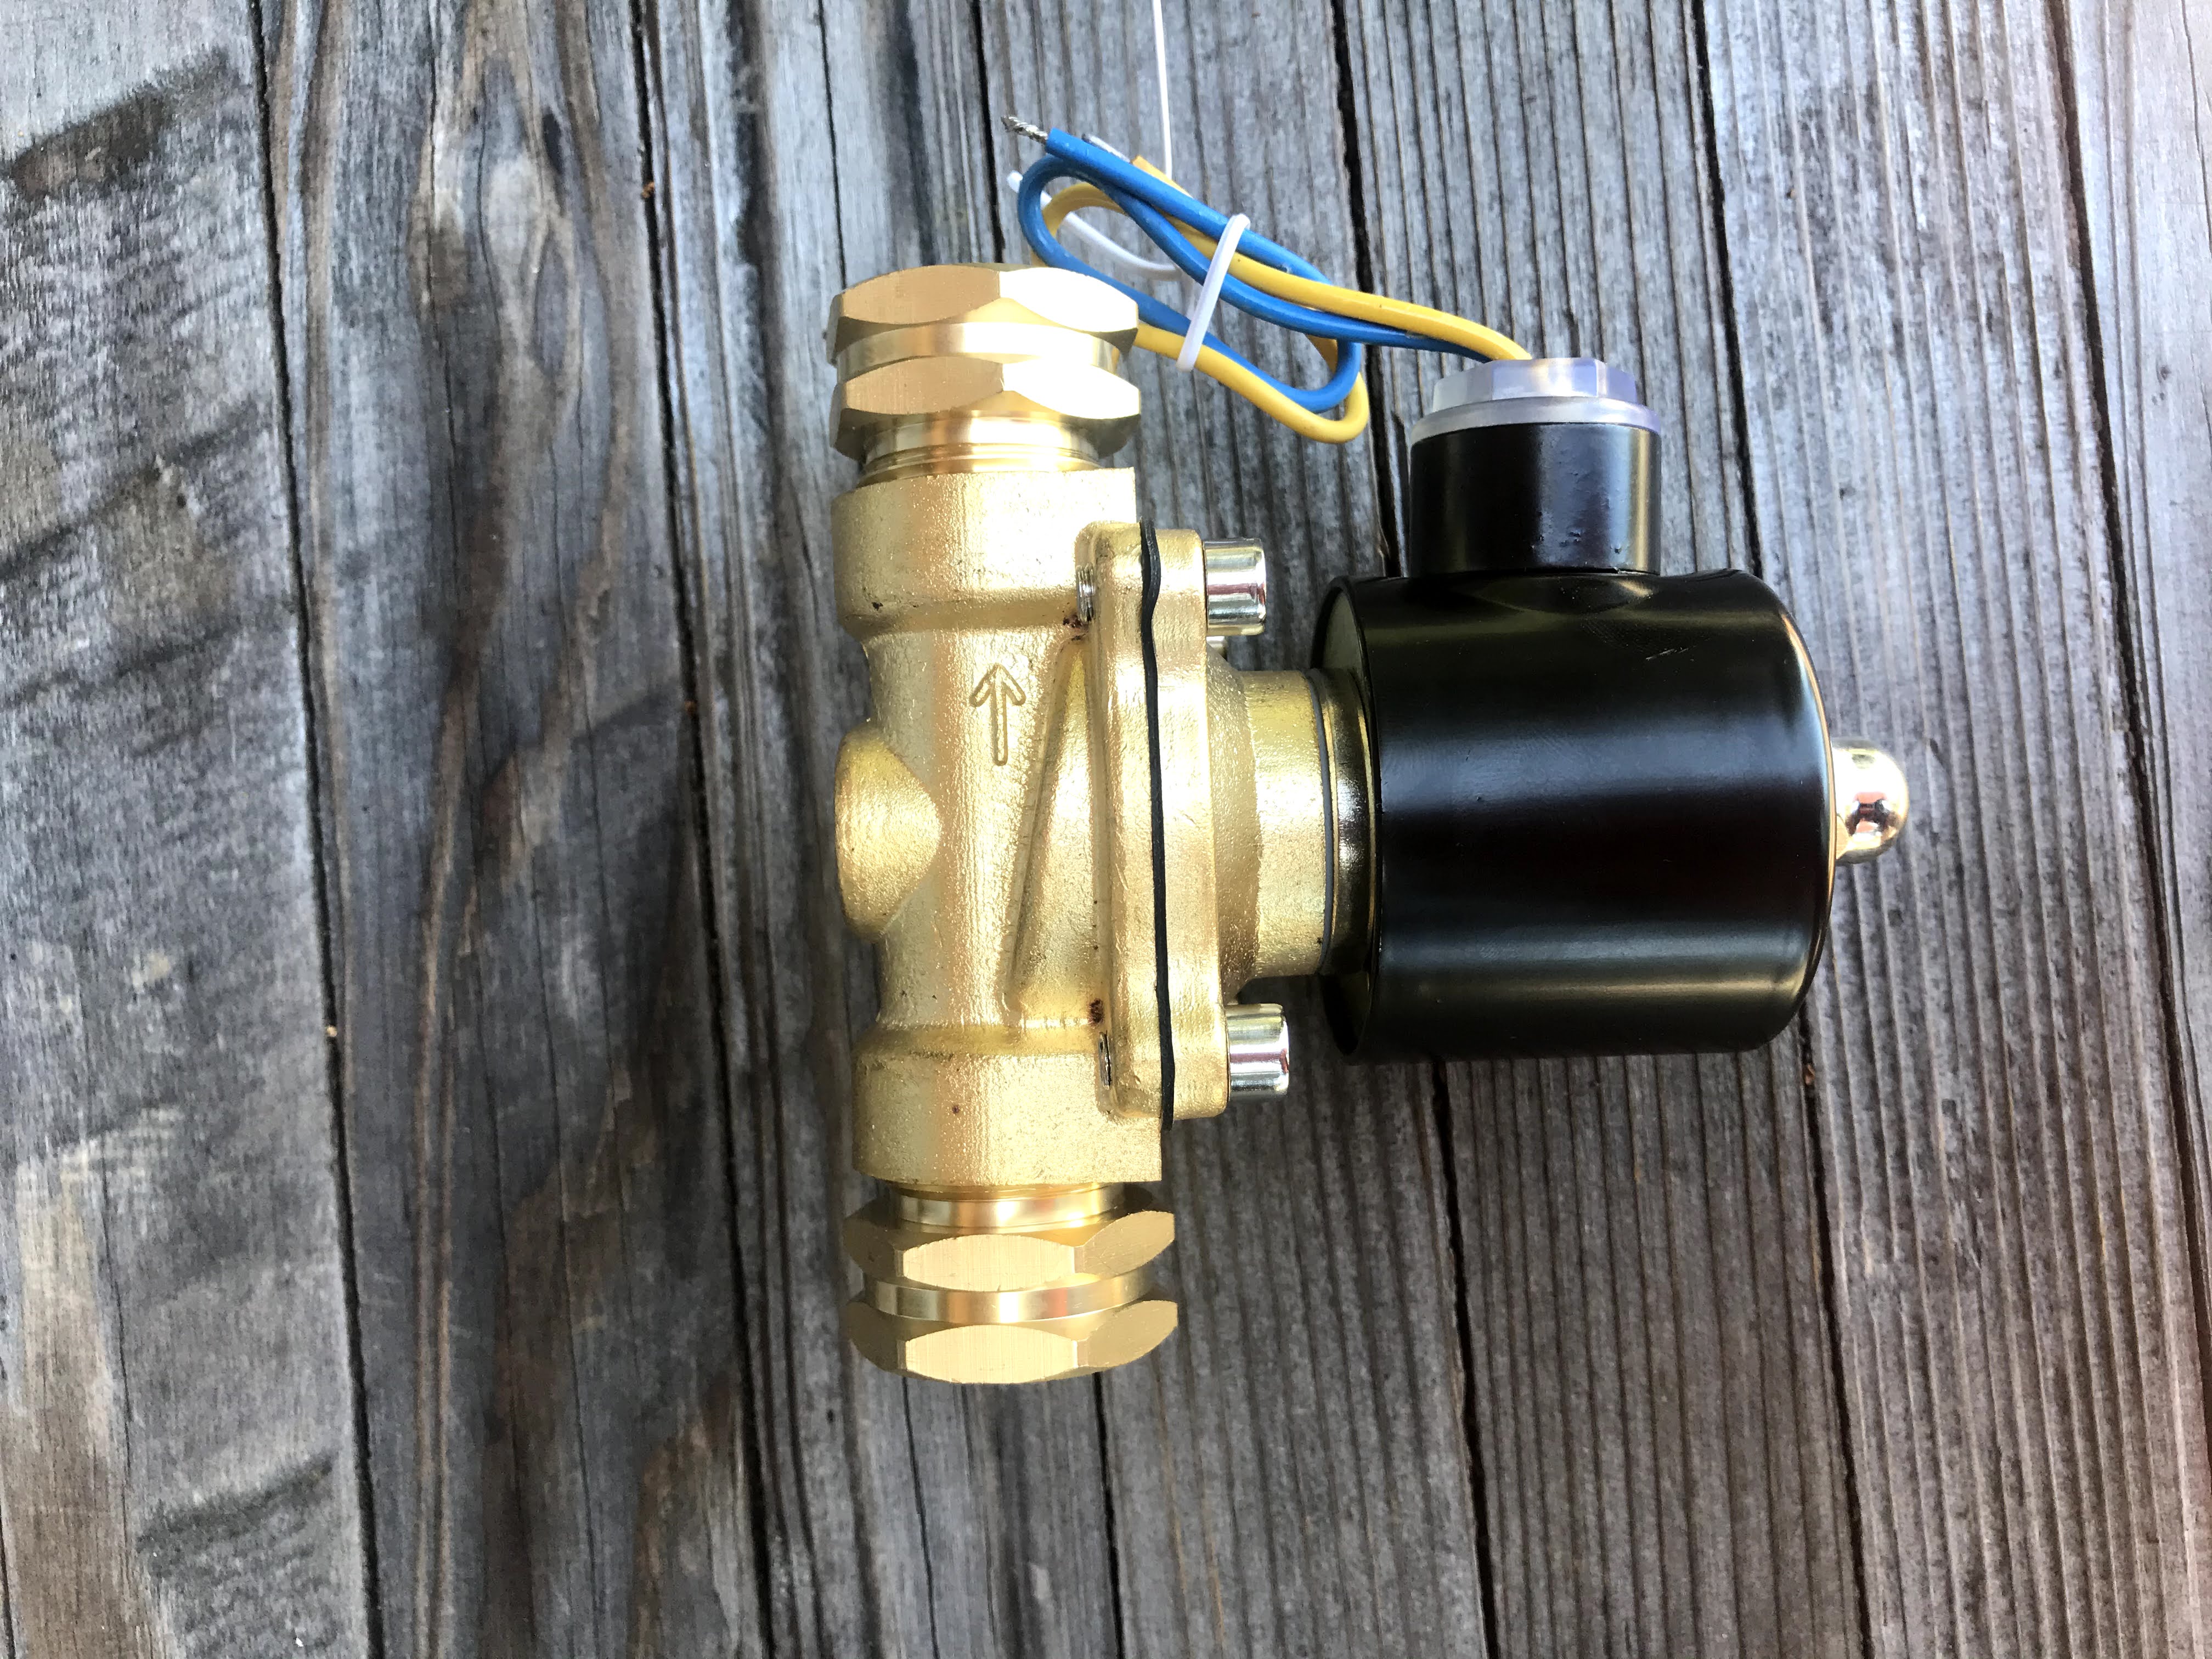
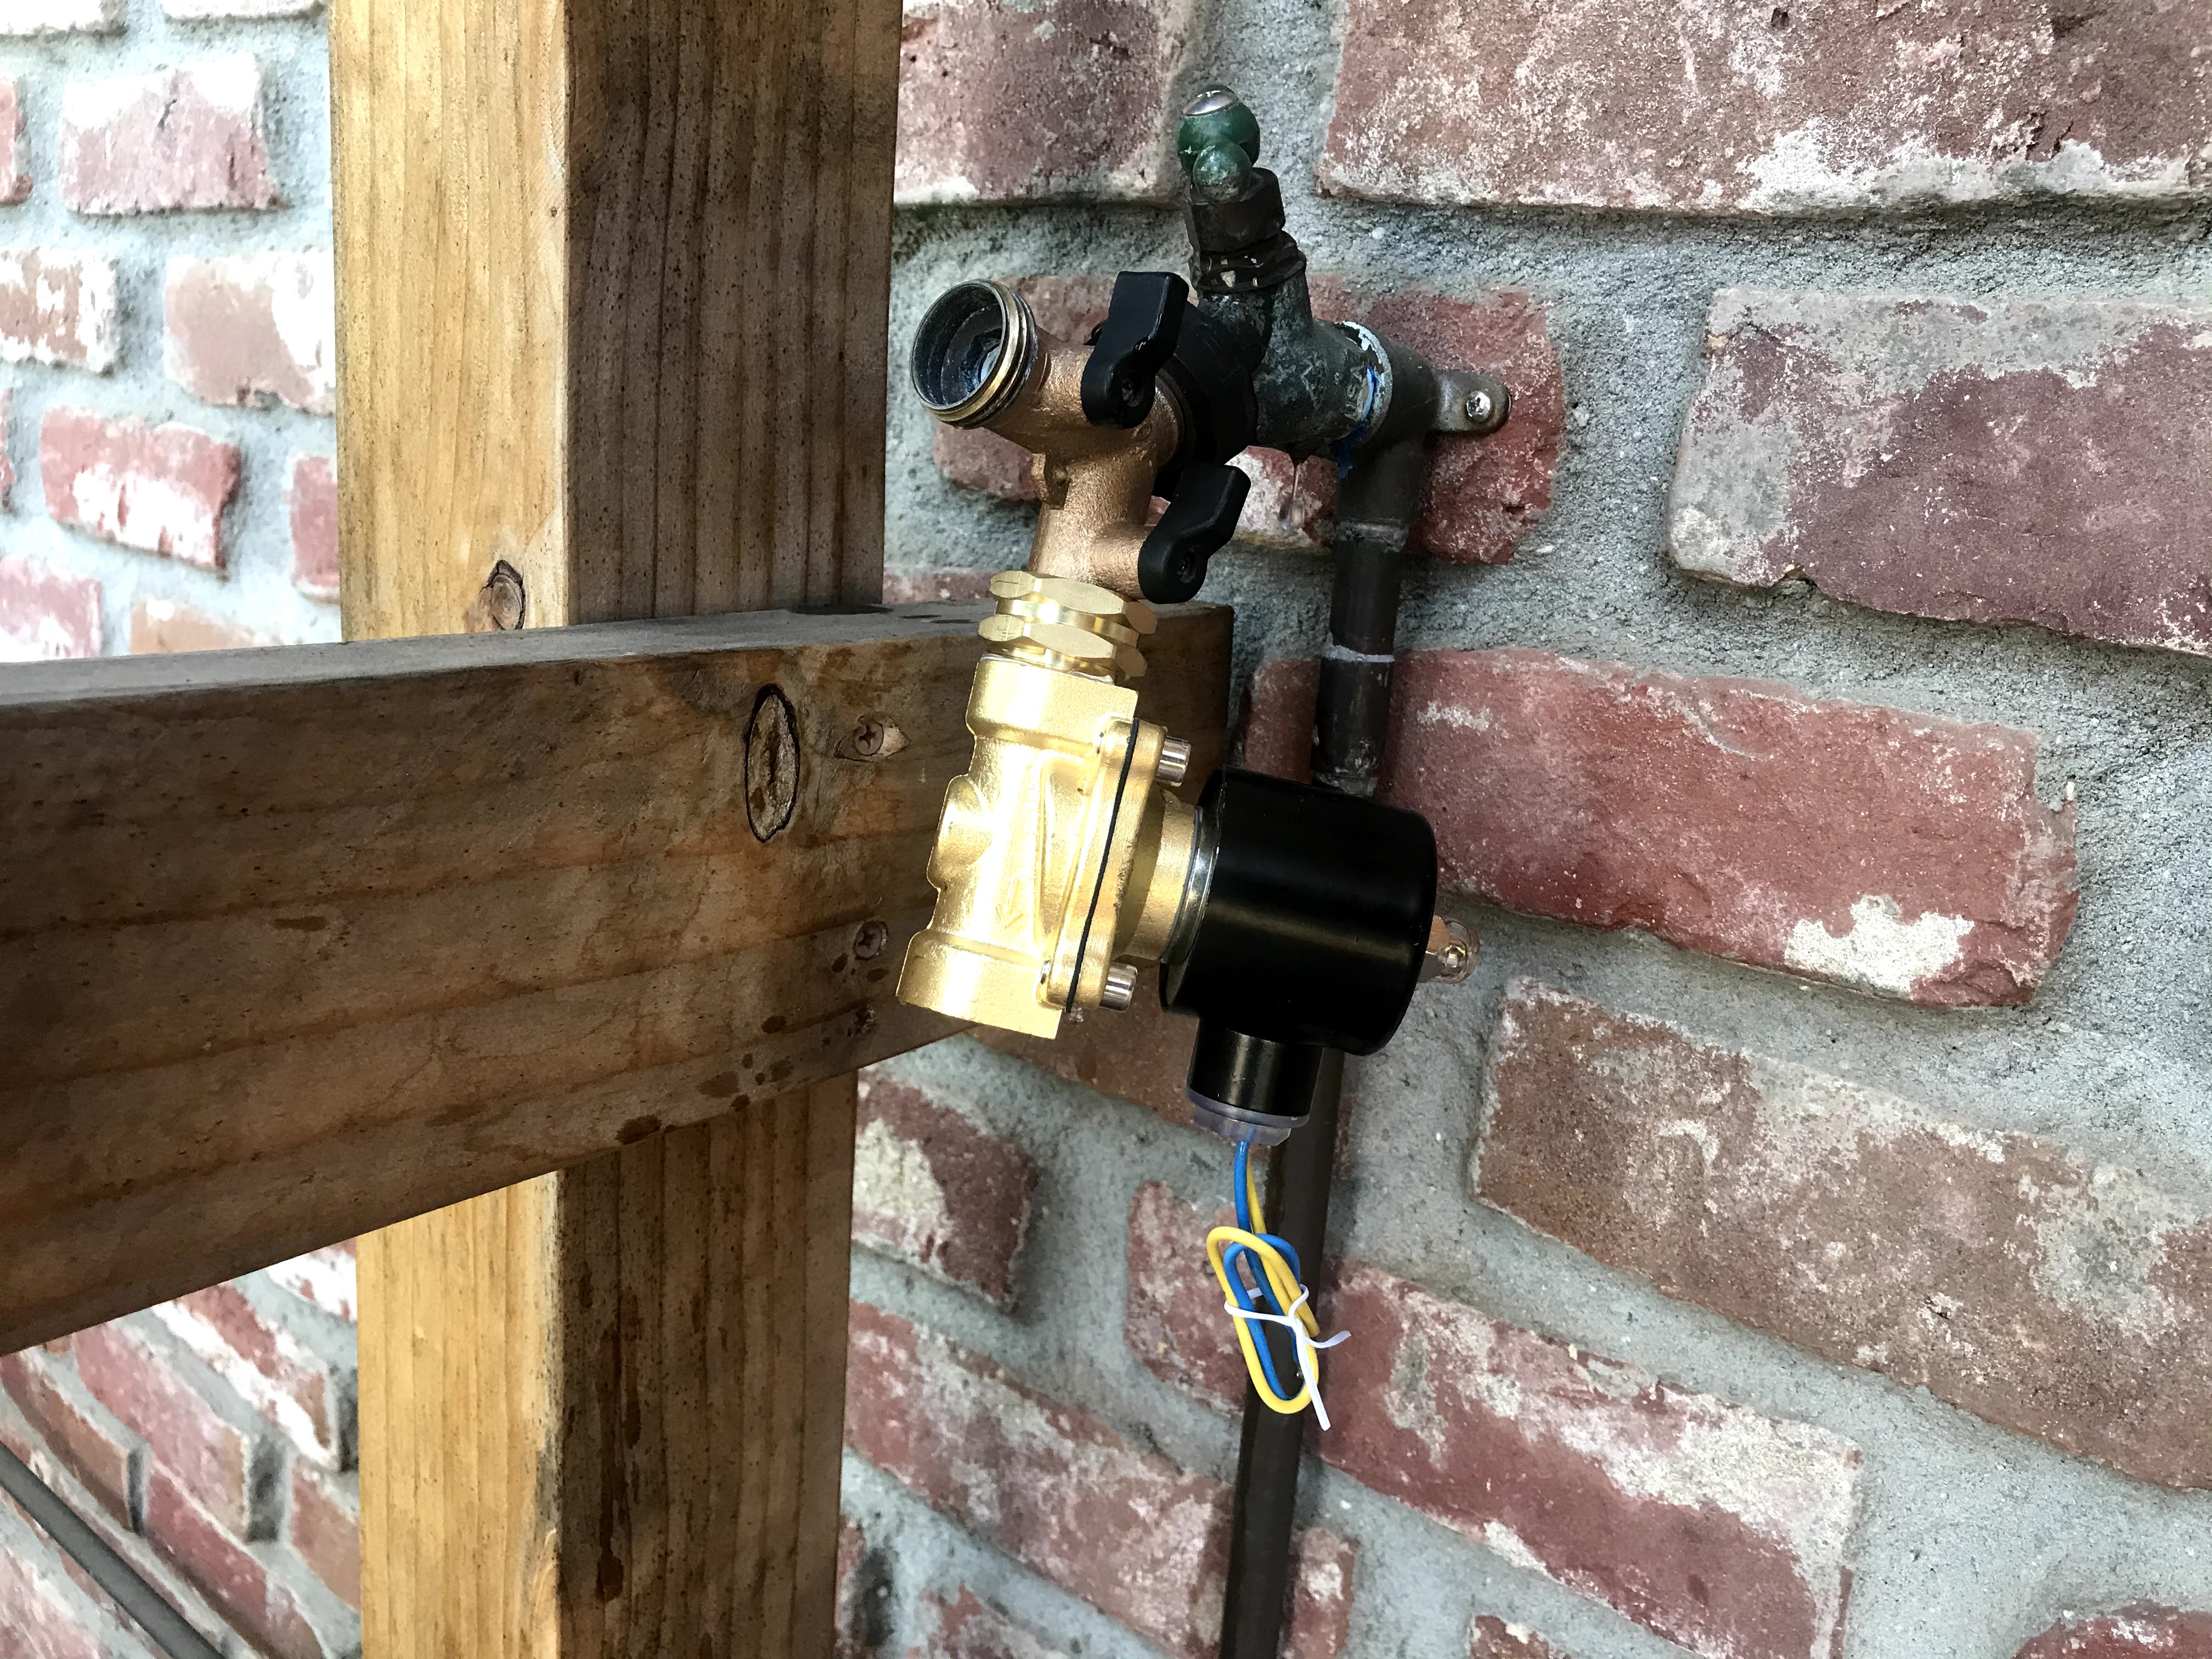
Next, I connected the solenoid valve to my pipe. I used special teflon tape aka plumber’s tape. It is the best tape to use when working with water and this one specifically for sealing pipe threads. I applied this tape to avoid possible leaks.
I used a 12V power supply to run my project. The charger got connected to the valve and tested if it opened. After testing all the connections the time has come for soldering the cables. My project works perfectly so after a couple of tests I put the Raspberry Pi, relay and power supply in an old box. I made a few holes, put cables through them and sealed them back to make my project waterproof.

The Tomato AI is finally functioning and is performing every morning!


LinkedIn Tomato AI